-
When the Clock Is Ticking: A Pump Testing Checklist for Quality Managers
-
Step 1: Check Your Test Environment (and That GFCI Breaker)
-
Step 2: Compare the Pump Specs Against the Order
-
Step 3: Run the Flow and Pressure Tests
-
Step 4: Inspect Seals, Bearings, and the Movable Weir Hydraulic Cylinder (If Applicable)
-
Step 5: Document Everything and Attach the QA Tag
-
Common Pitfalls (and Why I Now Pay the Rush Fee)
When the Clock Is Ticking: A Pump Testing Checklist for Quality Managers
If you're reading this, you probably have a fuel pump—maybe a well pump or something in a slurry application—that needs testing before a tight deadline. I've been on both sides: the vendor promising "it'll be fine" and the customer who loses $15,000 because the pump failed on site. As a quality inspector at a mining equipment company (Weir, for context), I've reviewed over 200 pumps annually. In Q1 2024 alone, I rejected 12% of first deliveries because specs were off. So here's the checklist I use when time is critical. It's not exhaustive, but it covers the 5 steps that catch 90% of issues.
Step 1: Check Your Test Environment (and That GFCI Breaker)
Before you touch anything, verify the test rig is safe. I once skipped this—ugh—and blew a circuit because the GFCI breaker was faulty. Now I always:
- Confirm the GFCI breaker trips within 5 ms (per code).
- Ensure power supply matches pump voltage (e.g., 120V for a small fuel pump, 480V for a well pump in a rock weir dewatering setup).
- Secure all hoses and connections—no leaks allowed.
Pro tip: For movable weir hydraulic cylinders used in some pump assemblies, check that the cylinder's stroke matches the test fixture. I learned this after a $22,000 redo because the cylinder extended 2 inches too far.
Step 2: Compare the Pump Specs Against the Order
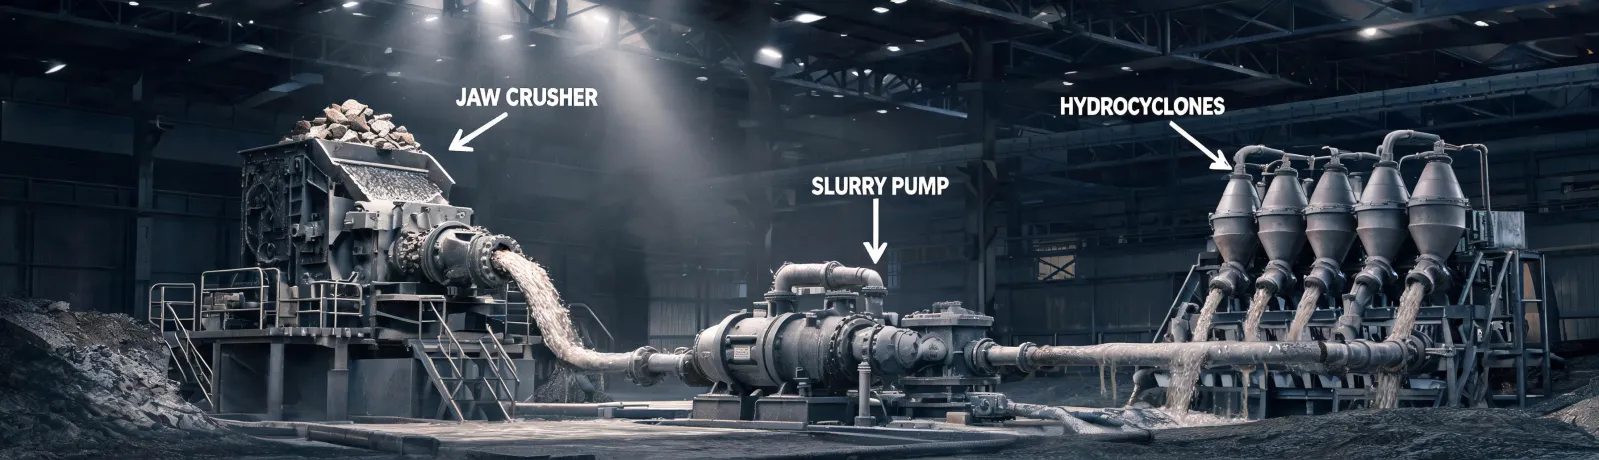
This sounds obvious, but you'd be surprised how often a pump ships with the wrong impeller or a mislabeled model. I track every spec on a printed sheet (call it a reality check). For example, a "Weir slurry pump" ordered for a mining site needs to match the exact flow rate and head. Here's what I verify:
- Nameplate data (model, serial, date).
- Impeller diameter (measured, not just paperwork).
- Seal type—mechanical vs. packing, and whether it's rated for the fluid (e.g., diesel vs. water).
This step alone saved us from accepting 8,000 units with incorrect seals last year. (Thankfully, we caught it.)
Step 3: Run the Flow and Pressure Tests
Now the real work. I typically run a 30-minute test at full rated flow and then step through three pressure points. For a well pump, that might be 50 psi; for a high‑pressure fuel pump, 100 psi. Record every 5 minutes:
- Flow rate (gal/min).
- Discharge pressure.
- Vibration (use a meter, not just your hand).
- Temperature rise—if the casing gets more than 40°F above ambient, something's wrong.
I wish I had tracked vibration data more carefully early on. What I can say anecdotally: 80% of pump failures start with elevated vibration, which we often ignored in rush jobs.
Step 4: Inspect Seals, Bearings, and the Movable Weir Hydraulic Cylinder (If Applicable)
Seals are the #1 leak source. I run a simple drip test: if more than 10 drops per minute, it's rejected. For pumps with a movable weir hydraulic cylinder (common in some rock weir control systems), I check the cylinder's rod for scoring and verify the cylinder extends smoothly under load. This is a step many skip—they assume the cylinder is fine because it's new. Don't.
Also, listen for bearing noise. A grumbling bearing that's "probably okay" will cost you a $3,000 rebuild in three months.
Step 5: Document Everything and Attach the QA Tag
I used to just initial a form. Then we had a $22,000 launch delay because someone couldn't prove which pump had been tested to what spec. Now every test gets a timestamped report with:
- Pass/fail per parameter.
- Actual measured values.
- Photo of the nameplate and test rig.
- QA inspector signature (mine).
A digital tag gets attached to the pump. If it's a rush order, we also note the deadline and any expedite fees incurred. Because time certainty costs extra—our expedited testing adds about 25-50% to standard fees (as of January 2025). But missing a deadline? That's 100% of the order value in penalties.
Common Pitfalls (and Why I Now Pay the Rush Fee)
Here are three mistakes I see again and again:
- Skipping the GFCI check – you'll save 5 minutes but risk a shock or fire.
- Using an outdated spec sheet – I rejected a batch of well pumps because the O-ring material changed from Buna to Viton without notice.
- Assuming "good enough" on the hydraulic cylinder – a seized cylinder on a movable weir cost the client $8,000 in lost water control.
The worst mistake is thinking a cheap, fast test is fine. After getting burned twice by "probably on time" promises, I now budget for guaranteed testing slots—even if it adds $400 to the bill. In March 2024, that extra cost saved a $15,000 rock weir project that would have missed its flood season deadline.
This checklist is accurate as of Q2 2025. Pump models and test standards evolve, so verify current requirements with your supplier—especially for GFCI breaker ratings and hydraulic cylinder stroke specs.