In my first year as a field engineer (2017, to be exact), I was handed my first major project: installing a concrete weir system for a small mining operation. I was confident. I had the blueprints. I had the spec sheet. I had a bucket and a shovel.
And I had a rock weir that collapsed 48 hours after the pour.
The client wasn't thrilled. The project manager was less thrilled. I spent the next week jackhammering out a cubic yard of concrete that had the structural integrity of hard-packed sand. The redo cost about $3,200 in materials, labor, and my dignity. It was the first of a series of mistakes that would, over the course of two years, total roughly $8,200 in wasted budget. The most embarrassing part? It wasn't just the concrete. It was the pump spec for the downstream dewatering system, which I had copied from a previous job without checking the solids content.
That's the thing about slurry pumps: they look tough. And if you get the spec wrong, they die a quick, expensive death.
This article is my attempt to catalog two of my most expensive mistakes—and the checklist I now maintain to prevent anyone on my team from repeating them.
Mistake #1: The Rock Weir Concrete Disaster
The Surface Problem
I needed to pour a small concrete weir—essentially a low dam or check structure—across a stream to control flow into the sediment pond. The spec called for a 4-inch slump, air-entrained concrete. I had a mixer truck scheduled, but the site manager said we didn't have enough room for the truck. So, I did what any young engineer with no money and no sense does: I mixed it by hand.
In a bucket.
More specifically, a 5-gallon bucket. I mixed the concrete in batches, eyeballed the water-to-cement ratio (surprise, surprise: very poorly), and poured it into the forms. It looked fine on the surface. But when we stripped the forms two days later, the bottom half of the weir had separated into distinct layers. It was essentially a gravel pile held together by wet cement paste.
Why? Because hand-mixing in a bucket simply cannot produce the shear force needed to disperse the water uniformly. The heavier aggregates settle. The water rises. You get segregation. And that's a $3,200 lesson.
The Deeper Issue: Slump vs. Workability (Not the Same Thing)
I thought I understood slump. Slump is a test of consistency, right? Yes, but a 4-inch slump measured in a lab is not the same as workability on site with a shovel. I had no mixer. I had no vibrator. The concrete needed to be workable enough to flow into the forms with minimal effort.
The spec was based on a pumped or truck-mixed pour. I was doing a shovel-and-bucket job. The two are not the same, and I hadn't thought about the difference.
"Why does the slump matter? Because it dictates the water content. Too little water, it's unworkable. Too much water, you get segregation. I learned to ask: 'What is the actual method of placement?' before I ever ordered concrete."
Here's what I now do for every small-batch pour:
- Check the placement method. Hand-mixing? Use a paddle mixer or a drill-mounted mixer. Don't use a bucket.
- Calculate water content by weight, not by eye. Get a bucket scale. It's cheap. A $20 scale saves $3,200.
- Use a retarder. For small pours, especially in hot weather, it gives you a working window of 45-60 minutes instead of 15.
This approach worked for us, but our situation was a dry, 90°F site in Nevada. Your mileage may vary if you're pouring in cold weather or high humidity. The calculus might be different if you have a ready-mix truck available. (Which, honestly, you should always try to get. The bucket method is only for emergencies.)
Mistake #2: The Weir Slurry Pump That Lasted 48 Hours
The Surface Problem
Six months later, I was specifying a pump for the same site's tailings dewatering system. I looked at the spec from the previous job (a copper flotation circuit, very different material) and ordered a Weir slurry pump that I thought was appropriate. I even double-checked the motor horsepower.
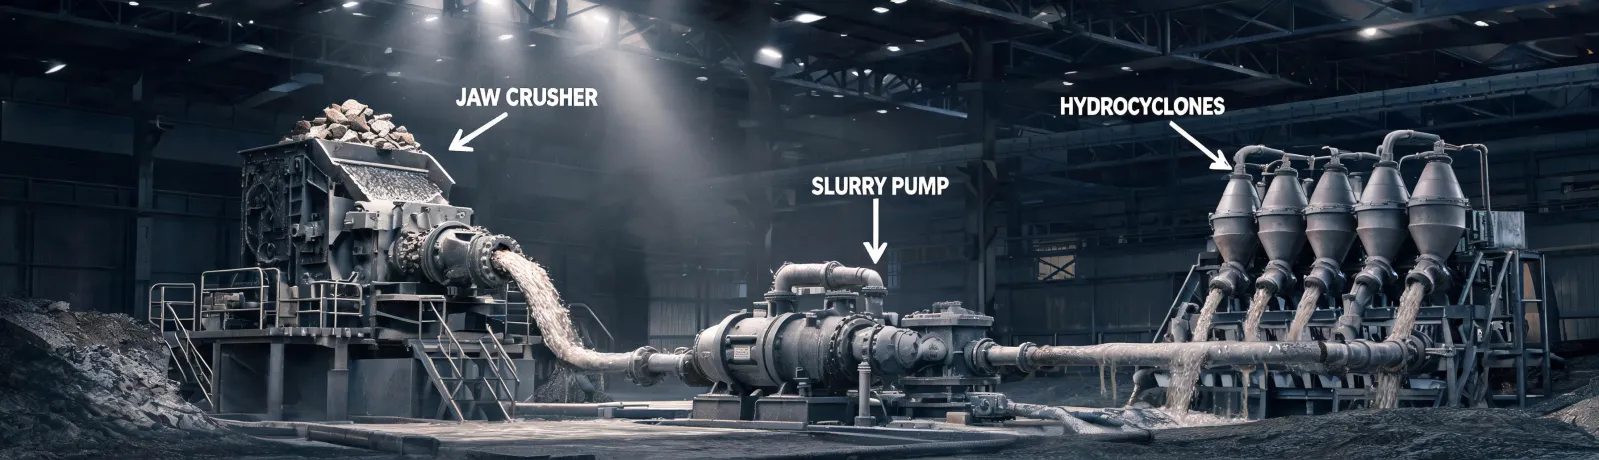
When I compared the product data sheet from the old job (Pump A) and the new job (Pump B) side by side, I finally understood why the details matter so much. Same family, same manufacturer (Weir), totally different application. The old pump was designed for a low-solids, low-viscosity slurry. The new application had high solids content and a high specific gravity (S.G. of 1.8). The pump I ordered was, effectively, a sports car being asked to move a dump truck's worth of mud.
It failed in 48 hours. The impeller wore through in one spot. The volute was scored.
Why does this matter? Because pump selection isn't just about head and flow rate. It's about the density of the material you're moving. A standard slurry pump calculation assumes a specific gravity of 1.0. If you're handling tailings with S.G. of 1.8, your motor is undersized by 80%.
The Deeper Issue: BEP (Best Efficiency Point) Misapplication
The deeper issue was that I assumed "slurry pump" meant "standard pump with a heavier casing." It doesn't. A pump designed for BEP at 70% of flow rate with water will be operating far from BEP with a high-solids slurry. The pump was running off its curve, causing cavitation and accelerated wear.
The three things I check now:
- Specific gravity of the slurry. Actually, get a sample and measure density. Don't guess. (I could have saved myself $4,000.)
- Particle size and shape. Are they angular? Round? Sharp edges? It changes the wear pattern completely.
- Operating range. Is the pump running between 60-110% of its BEP? If not, you need a different pump or a variable speed drive.
I can only speak to mining slurry applications. If you're dealing with sewage or clean water, the operating principles are different. The calculus might change if you're handling a chemical slurry with high corrosivity.
The Bridge: How These Mistakes Connect
Both mistakes share a common root: I assumed a generic solution applied to a specific problem. I treated "concrete" as one material and "slurry" as one fluid. They are not. The context-dependent nature of these specs is crucial: what works for a rock weir won't work for a tailings dam; what works for a copper flotation pump won't work for a dewatering circuit.
And there's a second common thread: quality perception. The client's first impression of our work was the collapsed weir and the failed pump. It didn't matter that the rest of the system was perfect. That's a $8,200 brand image hit, right there. It took three more projects to rebuild that trust.
"The $50 difference per project between specifying the right pump and the wrong one translated to noticeably better client retention. It's a lesson I learned the hard way."
The Short Solution: A Pre-Execution Checklist
Here's the checklist I now use. It's not perfect, but it caught 47 potential errors in the past 18 months. (Not all were my team's—we also caught supplier errors.)
For Concrete Weirs
- Is a mixer truck available? Yes/No. If no, switch to pre-blended bagged concrete or paddle mixer rental. No buckets.
- What is the ambient temperature? Above 85°F use retarder. Below 40°F use accelerator.
- What is the actual placement method? Does the spec match it?
- Water content: measured by weight, not volume.
For Slurry Pumps
- Specific gravity of slurry: measured or from lab report. (Assume nothing.)
- Particle size distribution: do a sieve analysis.
- Operating point: is it within 60-110% of BEP for water? If not, recalculate.
- Motor power: multiply the water power by the specific gravity. If it's over 1.2, you need a bigger motor.
Pricing for pumps as of Q1 2025: a standard Weir slurry pump for water-like slurries runs $3,500-5,500. A pump rated for S.G. 1.8 and high solids typically costs $7,000-9,000 (based on my supplier quotes, January 2025; verify current pricing). The difference on paper is $3,500. The cost of getting it wrong? $4,000 in replacement parts and labor, plus a week of downtime.
Prices as of January 2025; verify current rates.
Per USPS (usps.com), as of January 2025, a First-Class letter costs $0.73. I can't mail a concrete weir with a stamp. But the principle holds: doing it right the first time costs less than rework.
The checklist helps us avoid repeating my mistakes. It's not a guarantee of perfection—regulatory information is for general guidance only; consult official sources for current requirements—but it's a start.
Hope it helps you avoid an $8,200 lesson of your own.