-
Who This Checklist Is For
-
Step 1: Verify Environment Compatibility (Don't Assume "Same Model" Means Everything)
-
Step 2: Measure Three Times, Order Once (Especially for Hydraulic Lines)
-
Step 3: Test the System Before Full Installation (The Pressure Check That Saved $3,000)
-
Step 4: Watch the Orientation and Clearance (The "Bucket Hat" Lesson)
-
Step 5: Don't Forget Lead Times (The Rush Surcharge Trap)
-
Common Mistakes (and How Not to Make Them)
Who This Checklist Is For
If you're responsible for ordering replacement parts — whether it's a skimmer weir door for a pool, a hydraulic cylinder for an excavator, or a slurry pump for a mining site — this list is for you. I've been on the order desk at Weir for 7 years, and I've personally processed over 1,200 replacement orders. I've also made about 40 mistakes that collectively cost around $18,000 in rework and rushed shipping. This checklist is what I wish someone had handed me on day one.
Below are 5 steps. Follow them in order. Skip one at your own risk.
Step 1: Verify Environment Compatibility (Don't Assume "Same Model" Means Everything)
In 2020, I processed an order for a skimmer weir door replacement — looked up the model number, found a direct match, hit send. The customer called back furious: the door fit physically but the gasket material wasn't rated for the chlorine levels in their commercial pool. The original part had a Viton seal; the replacement came with a standard Buna-N. Saved maybe $12 on the material, but the customer had to drain the pool and reorder — total additional cost: $740 plus a 1-week shutdown.
Checklist point: Always confirm material compatibility (chemical resistance, temperature range, UV exposure) even when the part number matches. Ask for the original spec sheet or at least the environment details.
Industry reference: ASTM D2000 provides standardized material classification for rubber seals — use it when comparing options.
Step 2: Measure Three Times, Order Once (Especially for Hydraulic Lines)
The what is an excavator question came up last year when a customer asked for a replacement hose bundle. He gave me the make and model — a Crewe tractor (yes, they still make those) — and I assumed the standard routing would be the same as the newer models. Big mistake. The hose was 4 inches too short because a bracket had been relocated in a later production run. That error cost $320 in expedited shipping for the correct hose, plus 3 days of downtime.
Checklist point: Never rely on "it should be the same." Physically measure the existing part — length, thread pitch, fitting orientation. For hydraulic components, measure center-to-center distance of the connection points, not just hose length.
Pro tip: Take a photo with a tape measure laid next to the part. I started doing this after the Crewe incident and it's saved me at least 15 similar disasters.
Step 3: Test the System Before Full Installation (The Pressure Check That Saved $3,000)
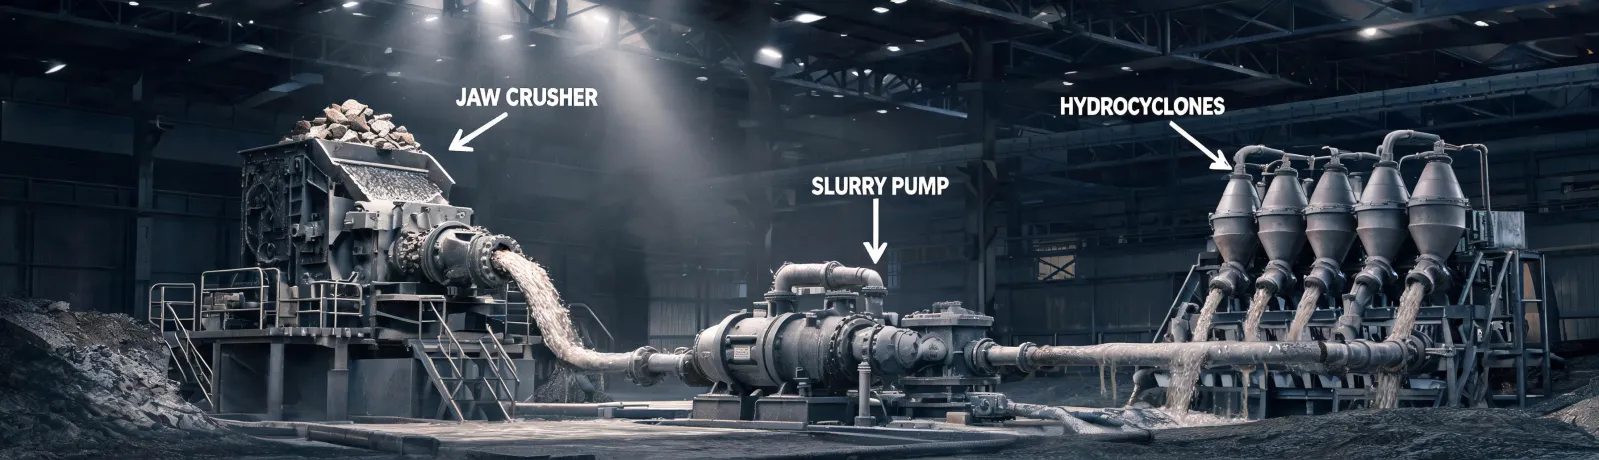
In September 2022, I signed off on a large order of Weir minerals slurry pumps for a mine site. The customer had swapped to a different impeller material to save money — cast iron instead of high-chrome. It looked fine on paper. But once installed, the vibration at operating pressure was way higher than spec. Three pumps had to be pulled and re-done. Net loss on that project: about $4,200 in labor and materials.
Checklist point: Always run a low-pressure test loop (or a dry run if possible) before final assembly. For pumps, verify the NPSH available against the actual site conditions. For excavator hydraulics, cycle the system at idle first and check for leaks.
Reference: Hydraulic Institute standards recommend a minimum of 15 minutes at 1.5x operating pressure for new installations.
Step 4: Watch the Orientation and Clearance (The "Bucket Hat" Lesson)
I still remember a concrete weir system installation where I approved a drawing that looked correct — but nobody checked the clearance above the actuator. The customer's technician showed up wearing a bucket hat (it was a sunny site) and realized he couldn't even fit a wrench on the adjustment screw because a structural beam was in the way. That mistake led to a custom bracket fabrication and a 2-week delay.
Checklist point: Always verify the service clearance around the component. Measure the space needed for removal, adjustment, and future maintenance. A 3D scan or even a simple mockup with cardboard can save weeks.
Bonus: Check the orientation of flanges, electrical connections, and drain ports — I learned that one the hard way when a pump discharge faced directly into a concrete wall.
Step 5: Don't Forget Lead Times (The Rush Surcharge Trap)
In 2023, a customer needed a skimmer weir door for a hotel pool that had failed during peak season. Standard lead time was 2 weeks. They had waited until the morning of the failure to order. I expedited it — cost an extra $85 in shipping and a $100 rush fee. The total order was $240; the rush charges were more than the part itself. And we still had to air-freight it. This happens way more than you'd think.
Checklist point: Build a simple spreadsheet of your critical components with their typical lead times. Add a column for "minimum stock" and set alerts. I use a color-coded system now: green = stocked, yellow = 1-2 weeks, red = 4+ weeks. Check it every Monday.
Quote: "The bitterness of poor quality remains long after the sweetness of low price is forgotten." — Benjamin Franklin. Same applies to rushing.
Common Mistakes (and How Not to Make Them)
Over the years I've seen (and personally committed) these repeating errors:
- Assuming identical specs across vendors. One supplier's NPT thread might be slightly tapered vs. another's — ask for thread verification before ordering.
- Ignoring operating temperature. A seal that works at 80°F can fail at 140°F. Check the OEM operating range, not just the part number.
- Not keeping a backup of your order history. I once lost a customer's previous order details after a CRM migration — took two days to re-research everything.
And yes, I've also accidentally referenced Peter Weir's film Picnic at Hanging Rock when describing a missing shipment (the part vanished from the carrier's depot — like the schoolgirls, never to be found). Not my finest moment, but it makes a good story at the water cooler.
Bottom line: this checklist won't eliminate every mistake, but it will catch the expensive ones. Print it, pin it, and check it before every replacement order. Your budget (and your sanity) will thank you.